Kitchen lighting, man, it’s more than just flipping a switch. It’s about how your kitchen feels, how well you can chop veggies without losing a finger, and even how good your food looks when it comes out of the oven. Over the years, working on kitchens all over Inglewood, from the older homes near the Forum to the newer builds closer to SoFi, I’ve seen some brilliant lighting setups and some real duds. Let's talk about what you need to know to get it right, whether you're a DIY warrior or you know when to call in the cavalry.
Before You Touch a Wire: Planning Your Lighting Zones
Before you even think about buying a single fixture, you gotta plan. A kitchen isn't just one big room; it's got different zones, and each needs its own kind of light. I always tell folks to think about three main types:
- Ambient Lighting: This is your general, overall light. Think ceiling fixtures, recessed lights, or track lighting. It's what keeps you from bumping into things. For a lot of older homes around Inglewood, especially those built in the '50s and '60s, you might just have one central fixture. That's usually not enough, is it?
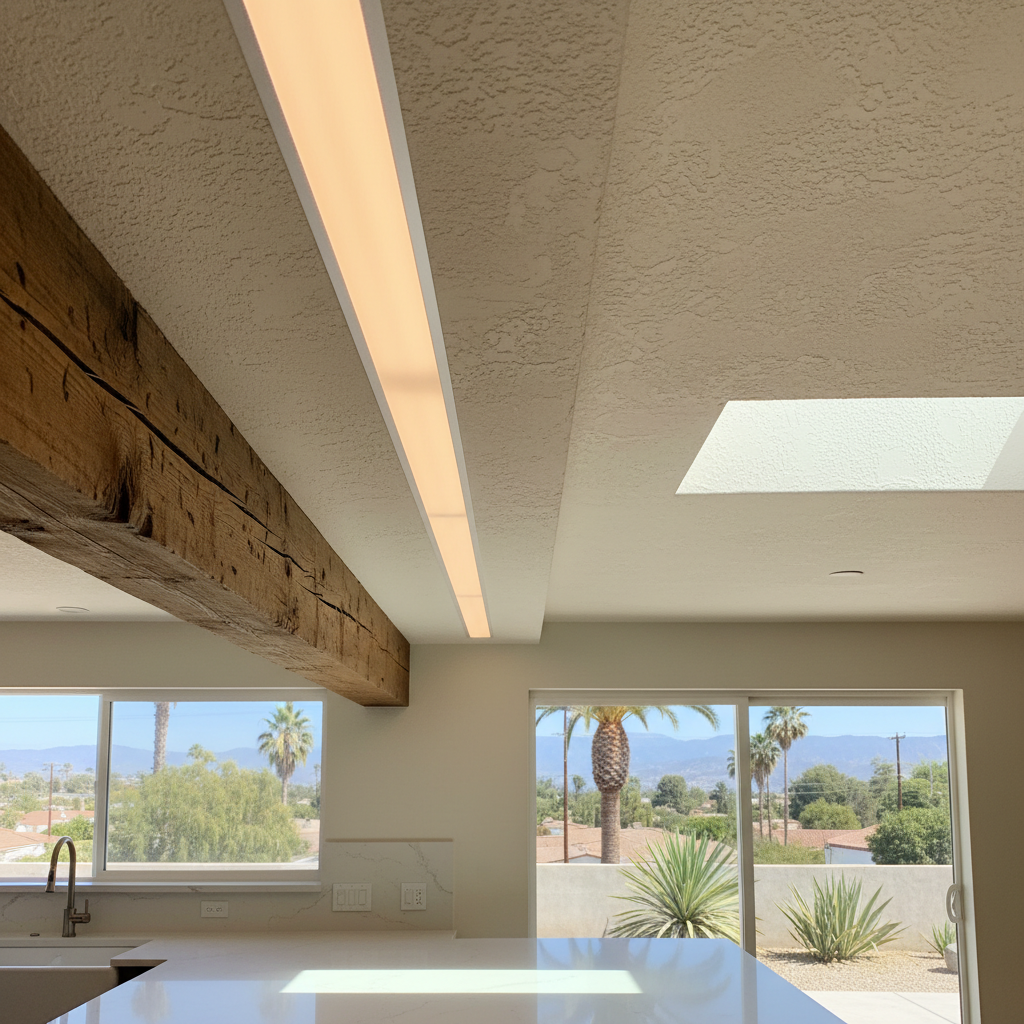
- Task Lighting: This is crucial for where you work. Under-cabinet lighting is the king here, but pendant lights over an island or a well-placed spot light over a sink also count. You need bright, focused light where you're prepping food, reading recipes, or washing dishes.
- Accent Lighting: This is for showing off. Maybe it's in-cabinet lighting for glass-front cabinets, or small puck lights to highlight a backsplash. It adds a bit of sparkle and makes your kitchen feel more inviting. You don't need it, but it sure makes a difference.
Take a few minutes and sketch out your kitchen. Mark where your sink is, your main prep areas, your stove, and any islands. Then, think about what kind of light each spot needs. This planning stage is probably the most important part of the whole deal, and it costs you nothing but a little time.
DIY vs. Pro: What You Can Tackle
Alright, so you've got your plan. Now, what can you actually do yourself without risking a trip to the emergency room or burning down your house? A lot, actually, if you're careful and respect electricity.
DIY-Friendly Lighting Upgrades:
- Replacing Existing Fixtures: If you're just swapping out an old, ugly ceiling fixture for a new one, and it's using the same wiring, that's usually a pretty straightforward DIY job. Just remember to ALWAYS turn off the power at the breaker box first. Double-check it with a voltage tester. Seriously, don't skip this.
- Installing Plug-In Under-Cabinet Lighting: There are some great LED strip lights and puck lights that just plug into an existing outlet. They're super easy to install with adhesive backing or small clips. These are fantastic for adding task lighting without touching any electrical wiring.
- Changing Bulbs: Okay, this sounds obvious, but switching to LED bulbs can make a huge difference in brightness, energy efficiency, and even the color temperature of your light. It's an instant upgrade.
When to Call All Star Kitchen Remodeling (or another licensed pro):
Here's when you absolutely need to step away from the tools and pick up the phone. Don't mess with these unless you're a licensed electrician:
- Adding New Circuits or Outlets: If your plan involves putting lights where there's no existing wiring, or if you need more power to handle new appliances or a lot of new fixtures, that's a job for a pro. This involves running new wires through walls and ceilings, which can get complicated and dangerous fast.
- Moving Existing Wiring: Want to shift that ceiling fixture a few feet over? Or move a light switch? That's not a simple swap.
- Recessed Lighting Installation: Cutting holes in your ceiling, running wires to multiple fixtures, and ensuring they're all safely connected is a specialized skill. You also need to make sure you're not cutting into joists or other structural elements.
- Any Project Involving Your Main Electrical Panel: If you're upgrading your panel or adding new breakers, definitely call a pro.
- You're Unsure or Uncomfortable: This is the big one. If you're not 100% confident in what you're doing, don't do it. Electricity isn't something to guess about. It's always better to be safe than sorry.
During the Project: A Few Tips
Whether you're DIYing or supervising a pro, keep these in mind:
- Consider Dimmers: Dimmers are a game-changer. They let you adjust the mood and brightness for different tasks or times of day. You can have bright task lighting for cooking, then dim it down for a cozy dinner.
- Think About Color Temperature: LED lights come in different