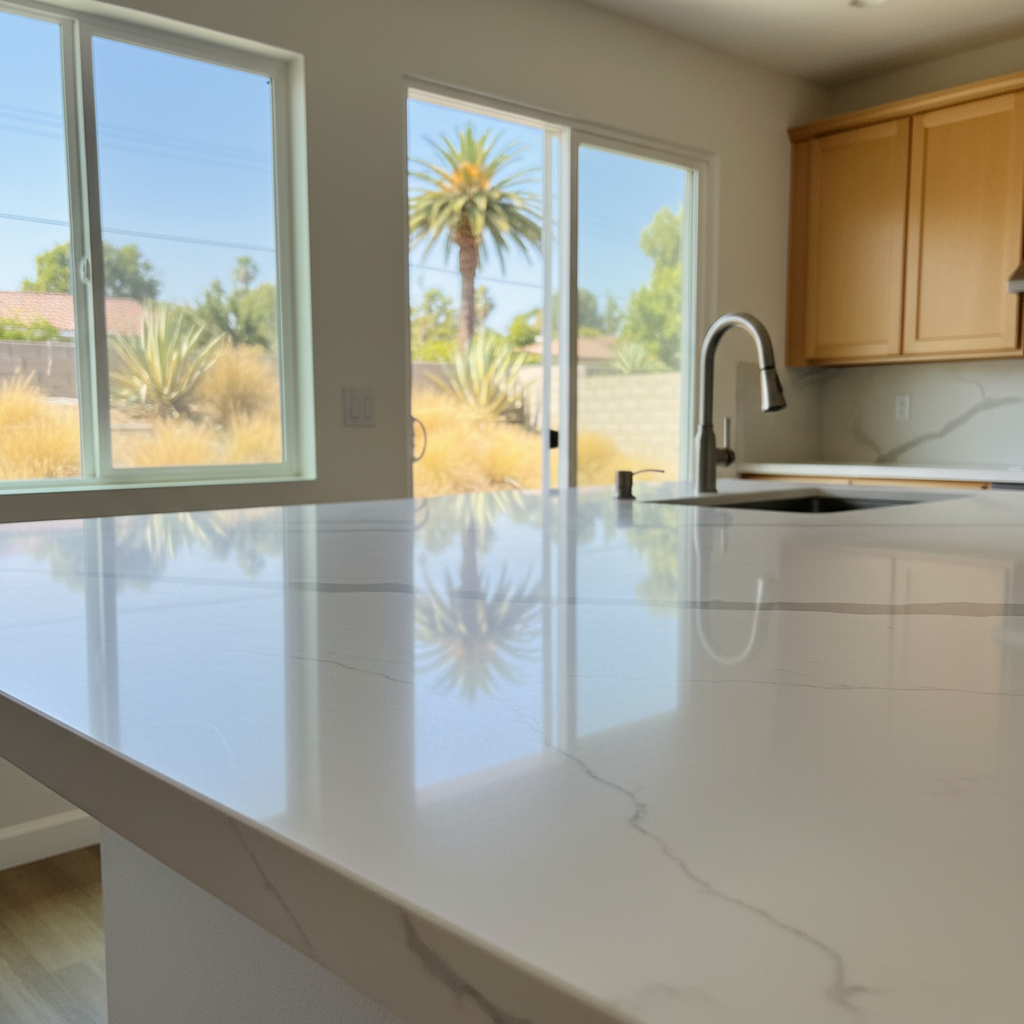
Alright, let us talk about Kitchen Islands. You see them in all the design magazines and on TV, and for good reason. Kitchen Islands can transform a kitchen, making it more functional, adding storage, and giving you a great spot for family and friends to gather. But here in Inglewood, with our mix of older homes and new builds, there are always specific questions that pop up. As a local contractor, All Star Kitchen Remodeling has heard them all. So, let us get into what you really need to know about Kitchen Island Installation in Inglewood.
How big does my kitchen need to be to fit an island comfortably?
This is probably the first thing All Star Kitchen Remodeling gets asked, and it is an important one. You do not want to cram a Kitchen Island into a space that is too small; it will make your kitchen feel worse, not better. The general rule of thumb is that you need at least 36 to 48 inches of clearance around all sides of your Kitchen Island. That is enough space for people to walk around, for appliance doors to open fully, and for multiple cooks to work without bumping elbows.
For a functional Kitchen Island, you are usually looking at a minimum size of about 24 inches deep and 48 inches long. If you are planning on seating, you will need even more space. Each person needs about 24 inches of width at the counter, and you will want a countertop overhang of at least 12 to 15 inches for knee room. So, a 6-foot Kitchen Island could comfortably seat three people. If your kitchen in Inglewood is on the smaller side, say under 150 square feet, a smaller Kitchen Island, maybe 24-30 inches deep and 48-60 inches long, might be a better fit. Sometimes, if a true Kitchen Island just will not work, a peninsula can be a great alternative, giving you extra counter space and storage attached to a wall or existing cabinetry in your Inglewood home.
What about electrical outlets on the island? Are they required?
Electrical work is an important part of Kitchen Island Installation. This is where things have changed a bit with the codes. In the 2023 National Electrical Code (NEC), which California generally follows, outlets on Kitchen Islands are actually optional. They used to be mandatory based on countertop size, but that has been removed.
However, if you do decide to install outlets on your Kitchen Island – and All Star Kitchen Remodeling highly recommends it for functionality – they have to meet specific placement rules. They cannot be on the side of the island, below the countertop, if they are meant to serve the countertop. This is a safety change to prevent cords from dangling. Instead, they need to be on or above the countertop, but no more than 20 inches above it. Pop-up outlets are a popular solution here in Inglewood. Even if you skip the outlet now, the code requires you to provide for a future installation, like roughing in a junction box. You will want power on your Kitchen Island for blenders, phone chargers, laptops, and all the other gadgets we use these days. All Star Kitchen Remodeling makes sure all electrical work for your Kitchen Island is up to code in Inglewood.
If I want a sink or cooktop on my island, what is involved with plumbing and ventilation?
Adding a sink or cooktop turns your Kitchen Island into a real workstation, but it definitely adds complexity to your Kitchen Remodeling project in Inglewood. If you are moving a sink, you are not just rerouting water lines; you are dealing with gravity-fed drain lines and the vent system. This often means opening up floors to run new pipes and connecting to your home's main waste and vent stacks. The City of Inglewood adopts the California Plumbing Code, so all this work has to be up to snuff. Special venting is required for island sinks to prevent sewer gases from coming up through the drain.
For a cooktop, you will need electrical or gas lines run to the Kitchen Island, plus ventilation. Most cooktops require a range hood, and in California, residential exhaust hoods need to meet specific requirements, often including a minimum airflow of 100 CFM. If you are going with a downdraft vent, that is a different setup, but it still needs proper ducting. Aluminum flex duct is not usually approved, so we are talking rigid metal ducts. All this means more planning, more work under the floor or through the ceiling, and definitely more permits for your Kitchen Island Installation in Inglewood.
Do I need a permit for a Kitchen Island Installation in Inglewood?
Absolutely. Any time you are making significant changes to your kitchen in Inglewood, especially if it involves plumbing, electrical, or structural modifications, you will need permits from the City of Inglewood. This is not just red tape; it is about making sure the work is done safely and to code. Inglewood follows the California Building, Plumbing, Mechanical, and Electrical Codes. For example, moving plumbing for an island or adding new electrical circuits will definitely trigger permit requirements. All Star Kitchen Remodeling handles all the permit applications and makes sure everything is inspected properly. This protects you and your investment in your Inglewood home.
How much does it cost to add an island, especially if I need to move utilities?
The cost can vary a lot for Kitchen Island Installation in Inglewood, but moving utilities is not cheap. Adding a basic Kitchen Island without utilities might start around a few thousand dollars for the cabinets and countertop. But once you add plumbing and electrical, the price jumps significantly for your Inglewood Kitchen Remodeling project.
- Moving plumbing: If you are moving a sink more than a few feet, especially to a Kitchen Island, you are looking at anywhere from $1,500 to $5,000 or more, depending on how far the lines need to go and if we have to cut into a slab foundation. Older homes in Inglewood often have galvanized or cast iron pipes, which can increase complexity and cost for Kitchen Island Installation.
- Moving electrical: Running new electrical to a Kitchen Island for outlets or a cooktop can range from $2,000 to $6,000 for kitchen rewiring, depending on the complexity. Just moving a single outlet can be a few hundred dollars.
These costs include labor, materials, and often the necessary repairs to walls and floors after the work is done. It is why All Star Kitchen Remodeling always provides a detailed estimate upfront for our Inglewood clients, so you know what to expect for your Kitchen Island project.
Can I add an island to an older home in Inglewood, especially with a slab foundation?
Yes, you absolutely can, but it requires careful planning. Many homes in Inglewood, especially those mid-century builds near Edward Vincent Jr. Park, have slab foundations. Adding plumbing or electrical to a Kitchen Island in a slab home means cutting into the concrete to run new lines. This is more involved and costly than working with a raised foundation where we can access plumbing and electrical from a crawl space. It is definitely doable, but it needs a skilled team that knows how to handle slab work without compromising your home's integrity. All Star Kitchen Remodeling will assess your specific situation in Inglewood and give you the real picture of what is possible and what it will take for your Kitchen Island Installation.
What is the process like for installing a Kitchen Island?
It is a multi-step process for Kitchen Island Installation in Inglewood, but All Star Kitchen Remodeling keeps you in the loop every step of the way. Here is how it generally goes:
- Design and Planning: This is where All Star Kitchen Remodeling figures out the size, shape, function (prep, seating, cooking, sink?), and materials for your Kitchen Island. We will make sure it fits your kitchen's flow and your lifestyle in Inglewood.
- Permits: Once the design is locked, All Star Kitchen Remodeling handles getting all the necessary permits from the City of Inglewood.
- Demolition & Rough-ins: If we are adding utilities for your Kitchen Island, this involves opening up floors and walls to run new plumbing and electrical lines. This is the messy part, but it is essential for a proper Kitchen Island Installation.
- Framing & Cabinet Installation: All Star Kitchen Remodeling builds the base of the Kitchen Island, making sure it is structurally sound and perfectly level. Then the cabinets go in.
- Countertop Templating & Installation: After the base cabinets are in, All Star Kitchen Remodeling will template for your chosen countertop material, then install it once it is fabricated for your Inglewood Kitchen Island.
- Finishing Touches: This includes connecting appliances, installing outlets, adding trim, and any other final details for your new Kitchen Island in Inglewood.
A well-designed Kitchen Island can truly be the centerpiece of your kitchen, making daily life easier and more enjoyable. It is an investment that pays off in both functionality and home value. If you are in Inglewood and thinking about a Kitchen Island, give All Star Kitchen Remodeling a call. We will give you straight answers and a clear plan for your Kitchen Remodeling project.